
A snowy roof can be surprisingly difficult to start. Leave it completely empty and it may look unfinished. Cover it with gray and it can lose the fresh, bright feeling you wanted. The middle ground is simple: keep the lightest snow as bare paper, then use a little color to show where it curves away from the light.
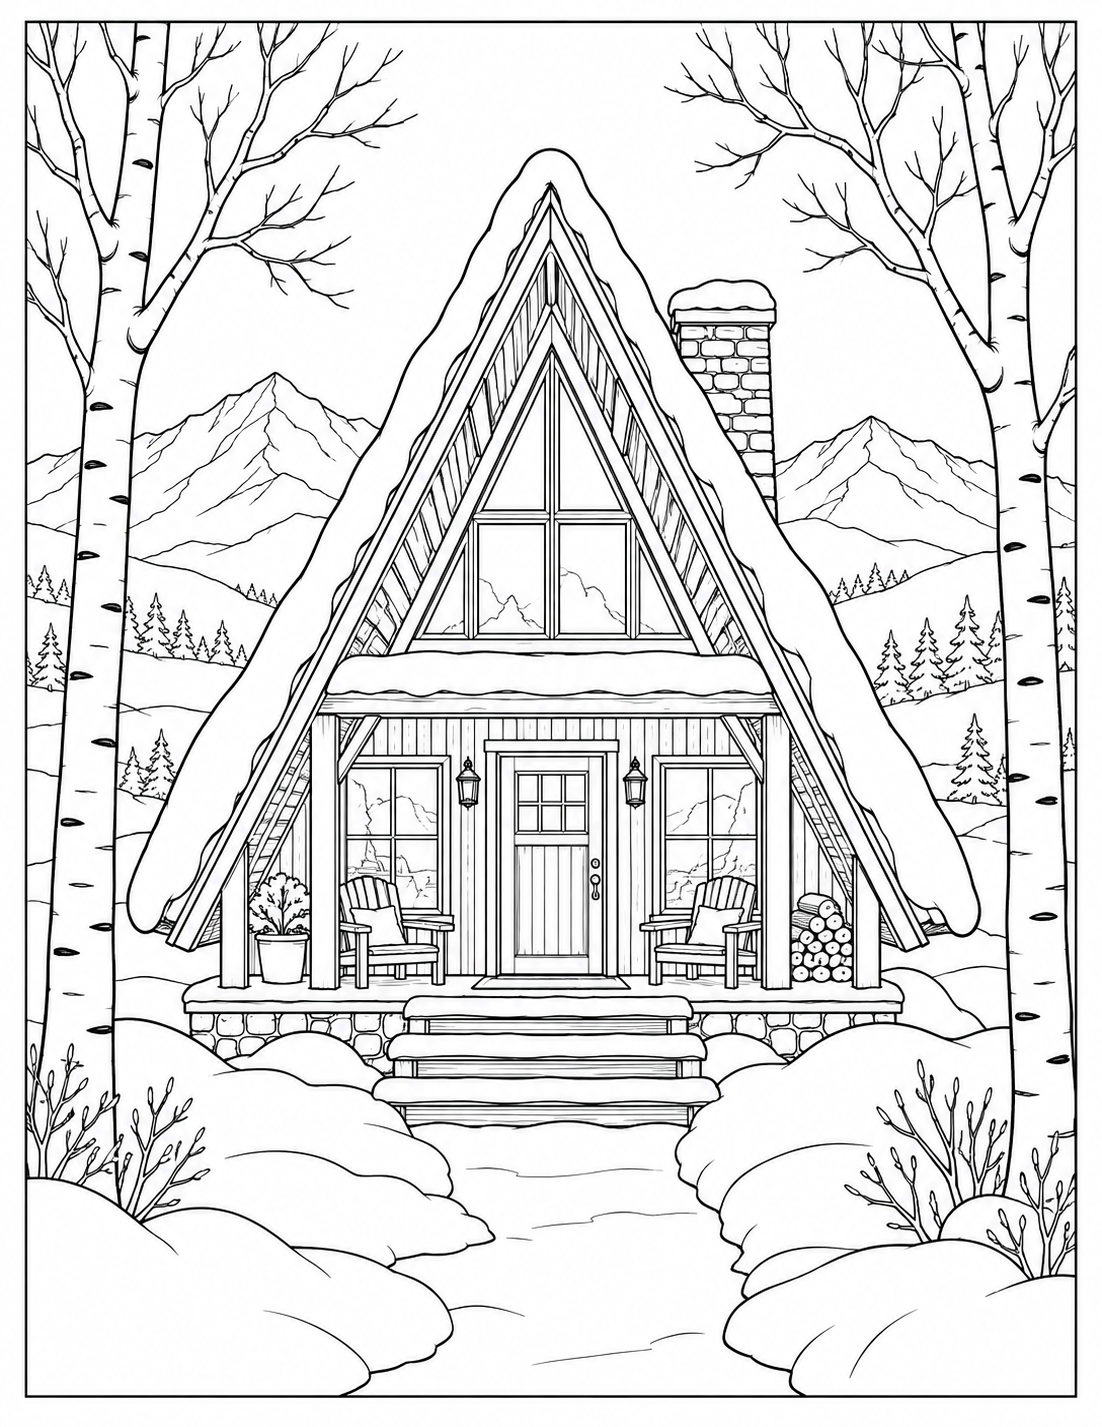
This exercise works with the colored pencils you already have. Try it on scrap paper first, or choose one small roof or snowbank in a winter coloring page. You do not need to finish the whole scene.
Choose a small winter palette
Set aside a pale blue, a blue-gray or lavender, a dark blue, and a warm yellow or ochre. Add brown if your scene has a wooden cabin. These are starting points, not required shades. If you only have a medium blue, use very light pressure and test it before touching the illustration.
- Paper white: the brightest snow and the tops of rounded drifts.
- Pale blue: the first soft shadow on snow.
- Blue-gray or lavender: deeper folds and shaded edges.
- Dark blue: a few small accents beneath overhangs or beside a tree.
- Warm yellow: window light that contrasts with the cool outdoors.
1. Decide where the light comes from
Imagine daylight coming from the upper left. Keep the upper-left surfaces of snowbanks mostly white and place shadows on their lower-right sides. For an evening scene, use the same idea with moonlight. If the drawing already suggests a light direction, follow it.
You do not need a perfect lighting diagram. One consistent choice helps the roof, trees, and ground feel as though they belong in the same scene.
2. Shade the underside, not the whole roof
On a snow-covered roof, begin with a narrow, pale-blue band along the lower edge of the snow. Use light, overlapping strokes. Let that band fade upward into untouched paper instead of outlining the entire snowy shape in blue.
On the ground, follow the curves of the drifts. Leave the top of each mound white and shade gently below it. A few small shadows where snow meets a fence, step, or tree trunk can help those objects feel settled into the ground.
3. Add depth in only a few places
Layer blue-gray or lavender into the deepest part of your first shadow. Keep this second layer smaller than the pale-blue area. Save dark blue for tiny accents, such as a sheltered corner under a roof or the base of a tree.
If all three colors cover the same area, the snow can look flat and heavy. Think of nested shapes: a broad white highlight, a smaller pale shadow, and a very small dark accent. For help keeping the transition gentle, see our colored pencil blending guide.
4. Give the cabin a little warmth
Color a window with a light layer of yellow, then add a touch of ochre near its edges. Keep the center lighter. Brown walls and a cool blue-gray sky can make that small window feel inviting without needing a bright glow across the entire page.
If you want light spilling onto the snow, add a faint patch of warm color immediately below the window. Keep it small at first. You can always extend it once you have seen how it looks beside the blue shadows.
If your snow looks too dark or too flat
Too dark? Stop adding layers and preserve the white areas that remain. On scrap paper, test whether a clean eraser gently lifts your particular pencil. Avoid scrubbing the book page. A white pencil may soften a light layer, but do not rely on it to turn a dark area back into bright paper.
Too flat? Deepen one small contact shadow, such as the spot where snow touches a tree trunk. You may need contrast in one place, not more color everywhere.
Too blue? Leave more white showing in the next snowbank. Snow in a stylized coloring page can be blue, lilac, or softly pink. The important part is keeping some light areas so the scene still feels bright.
Try a ten-minute winter study
- Test your pale blue and shadow color on spare paper.
- Choose one roof or drift and decide on a light direction.
- Add a light shadow, leaving most of the snow white.
- Deepen one small edge and color one warm window.
- Step back before deciding whether it needs anything else.
For a scene to return to on a quiet evening, look inside Cozy Winter Retreats. Its forty illustrations mix snowy outdoor settings with fireside rooms and other winter hideaways. Choose a scene you enjoy, keep your first palette small, and let the white paper do some of the work.
Explore Cozy Winter Retreats on Amazon